- Log into your Solid Control panel.

- Once logged in, click on the Create Customer button.
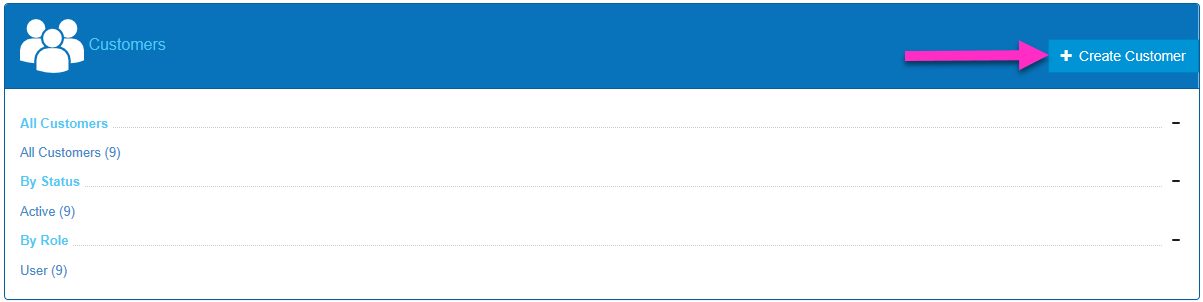
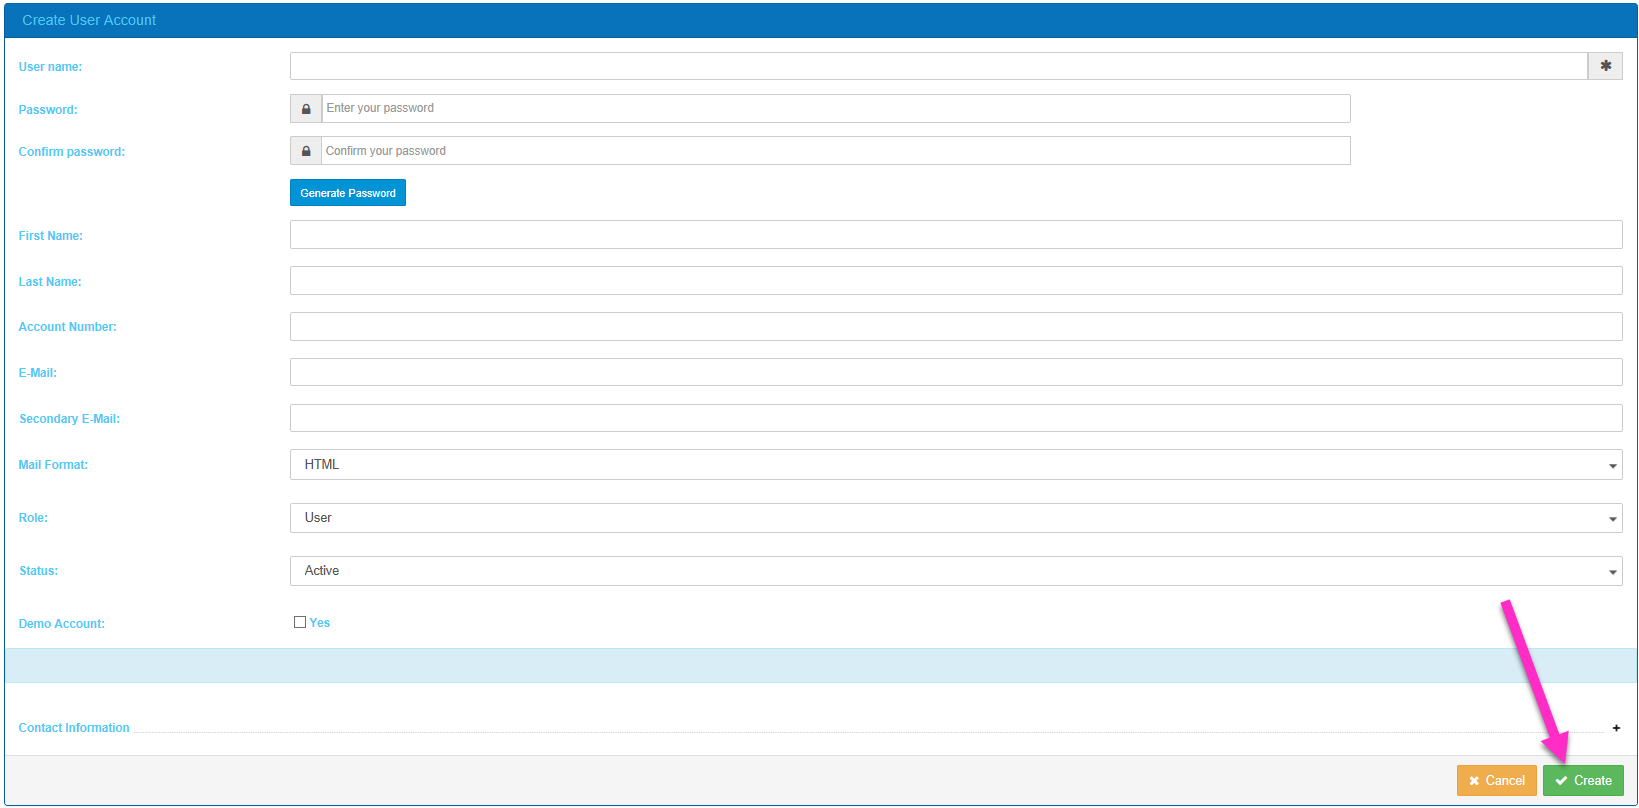
- Enter the required customer details and then click on the Create button to the bottom right of the page.
- Once the customer is created, the Hosting Spaces menu will load.
From here click on the Create Hosting Space button.
- Select your desired hosting plan from the drop down menu and tick the boxes to send Summary letters if desired.
Click on the Create Space button when done.
- To add the new domain name click on Hosting Space Menu in the menu on the left of the page.
Click on Domains in the sub-menu.
click on the Add Domain button on the right of the page.
- Enter your new domain name in the provided block and use the tick boxes to create a website and enable DNS if required.
NOTE: When creating a website, tick the box and leave the website name field blnk to create a website with the same name as the domain.
Once Done, click on the Add Domain button to complete creating the domain in the control panel.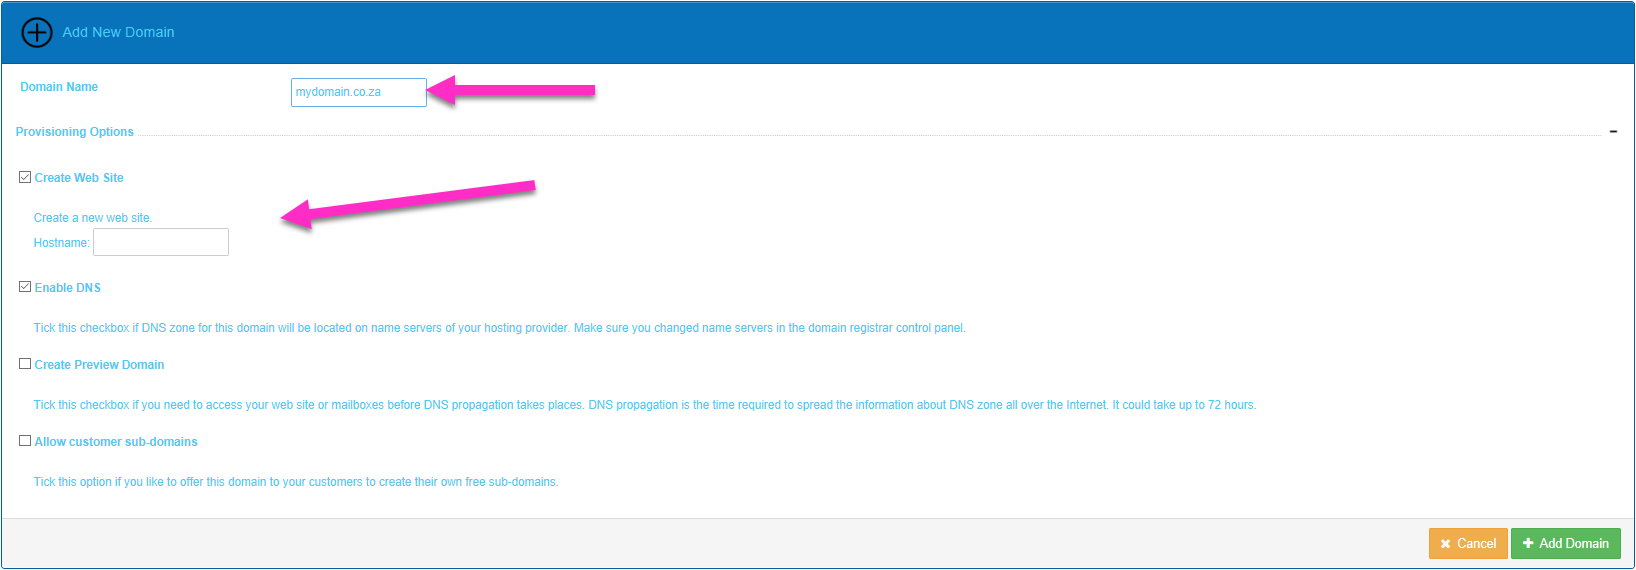
- You are now able to manage the new domain from within your Solid Control Panel.
This Guide will walk you through creating a new domain name and customer on the Solid Control Panel.
