This guide will walk you through the process of logging into your DirectAdmin Reseller Account, creating a hosting plan, and seting up your DirectAdmin WHMCS Module to connect to your Reseller Account with Absolute Hosting.
We'll start by logging into DirectAdmin using the login credentials that were sent to us after purchasing a DirectAdmin Reseller Hosting package. Once logged in we'll create our first hosting package which will be used to assign to clients via whmcs and used within the WHMCS setup.
Follow the link within the Service Activiation email to get to the DirectAdmin Login Page
Log into DirectAdmin using your DirectAdmin Reseller credentials that were sent to you within the Service Activation Email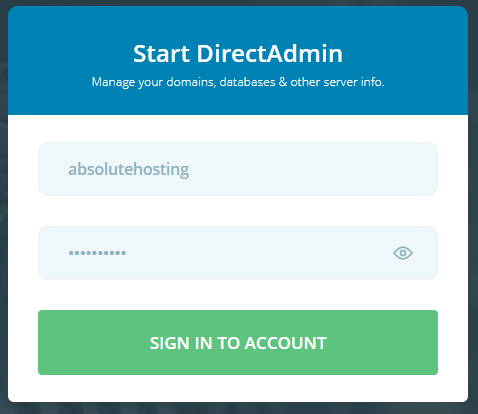
Create a new Hosting Package on DirectAdmin
Now that you're logged into your DirectAdmin Reseller account click the Manage User Packages icon to create a new Hosting Package
On the Manage User Packages page click the Add Package button to proceed.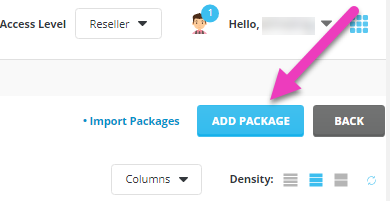
On the Create New Package page, define the limits and features available to the new hosting package along with a suitable package name. For our example we'll use a hosting package called DirectAdmin_Silver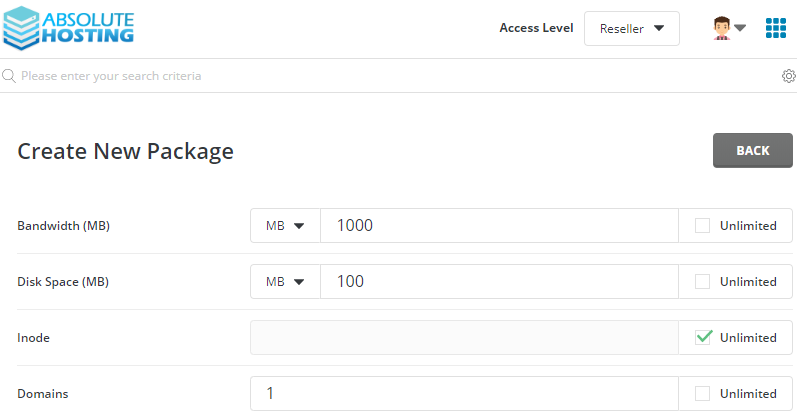
Specify the new package name and click Save
After creating your new Hosting package you'll be directed to the Manage User Packages page where you'll see your newly created hosting package.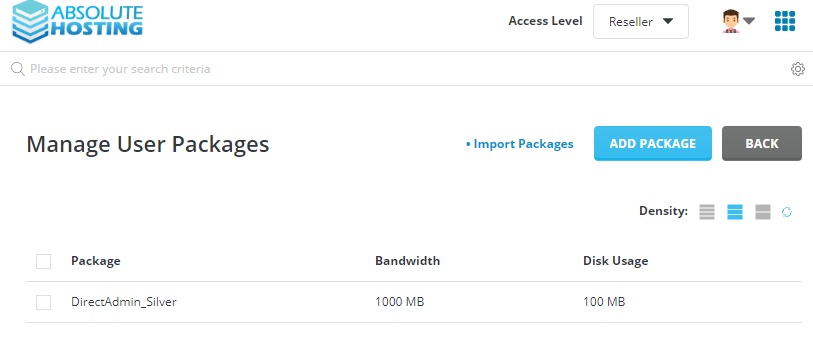
Create a new Login Key for access to DirectAdmin
Create a Login Key to be used for WHMCS to connect to your DirectAdmin reseller package
Within DirectAdmin, click the Drop down menu located to the right of your username and Login Keys 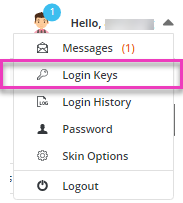
On the Login Keys page, click the Create button to create a new login key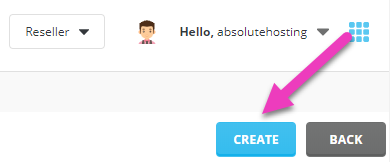
On the Create Login Key page :
- Provide a identifiable name for the new key, such as whmcsapi
- Generate a new key by clicking the Generate Random Password button
- Click the Show Password button to reveal the new password and copy to a text file for later.
- Set Expires On to Never
- Commands : Allow all
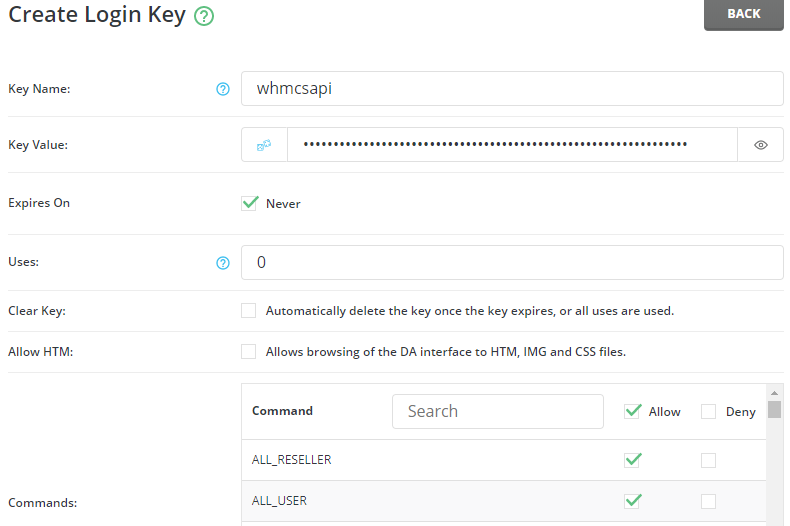
Provide your DirectAdmin Reseller Password within the Current Password field and click Create
Confirmation of your new Reseller Login Key
Setup WHMCS DirectAdmin Server Module
We'll now use the Login Key we created to setup a new Server within WHMCS and connect it to our DirectAdmin Reseller Account.
Refer to the Service Activation email for the server specific values required when creating a new DirectAdmin Server within WHMCS
Log into your WHMCS admin interface and browse to Setup > Products/Services > Servers 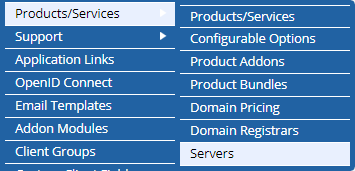
On the Servers page within WHMCS, click the Add New Server Button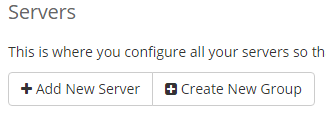
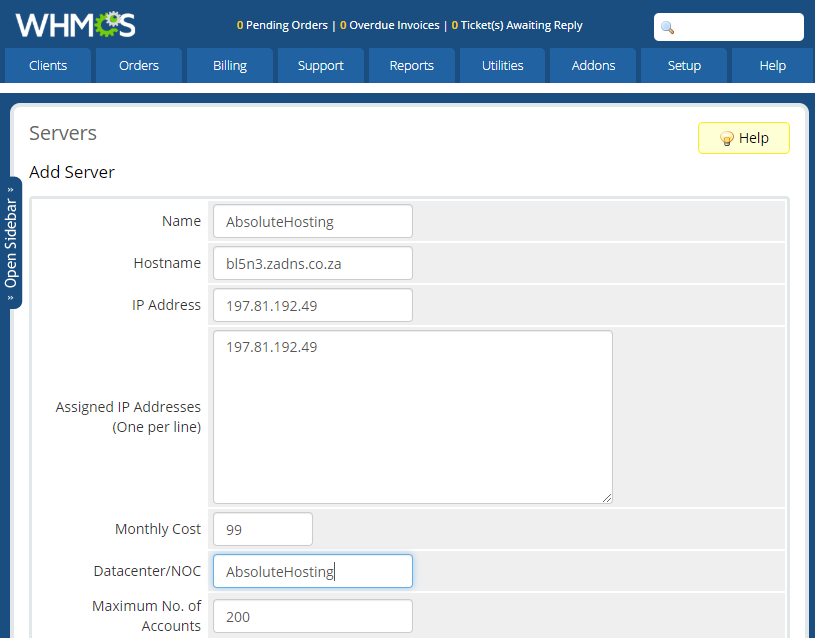
On the Add Server page :
- Name : Any name you desire, ie AbsoluteHosting
- Hostname : The hostname provided within the Service Activation Email
- Servers IP Address : Servers IP provided within the Service Activation Email
- Assigned IP : Servers IP provided within the Service Activation Email
- Monhtly Cost : The cost of your DirectAdmin Reseller Account with Absolute Hosting
- Datacenter/NOC : Absolute Hostin
- Maximum No. of Accounts : 999
- Primary Nameserver : Primary Nameserver provided within the Service Activation Email
- Primary Nameserver IP Address : IP address provided within the Service Activation Email
- Secondary Nameserver : Secondary Nameserver provided within the Service Activation Email
- Secondary Nameserver IP Address : IP addressed provided within the Service Activation Email

- Select DirectAdmin as the server type from the dropdown menu
- Username : Your DirectAdmin Reseller Username provided within the Service Activation Email
- Password : The Login Key we created in the previous step
- Secure : Yes
- Port : 2222
- Click the Test Connection button to confirm that you can connect using the details provided

If the connection succeeds, then click Save Changes button
Create a new DirectAdmin Hosting Product within WHMCS
Now create a new server group and add your new DirectAdmin Server to the new group.
We'll now create a new Web hosting package within whmcs and link it to the web hosting package we created earlier within this guide.
Within WHMCS browse to Setup > Products/Services > Products/Services 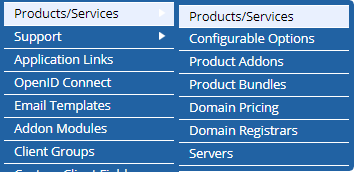
If you do not have a product group for the new product then create one by clicking the Create a New Product Group button
Click the Create a New Product button to create a new DirectAdmin hosting product
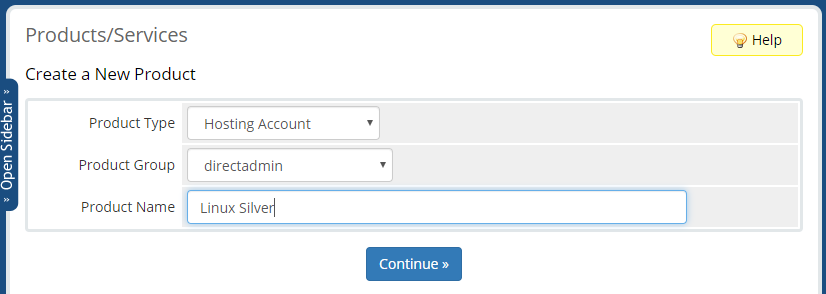
On the Create a New Product page select :
- Product Type : Hosting Account
- Product Group : Your preferred product group
- Product Name : Any name you desire, we will use Linux Silver for this example
- Click the Continue button
On the Edit Product page for the new DirectAdmin product click the Modules Setting button.
On the Modules Setting tab, Select : Direct Admin Server Group first, then
- Server Group : Direct Admin related group
- Module Name : DirectAdmin
- Package Name : Prepopulated and pulled from the DirectAdmin server, in our case this package name is DirectAdmin Silver
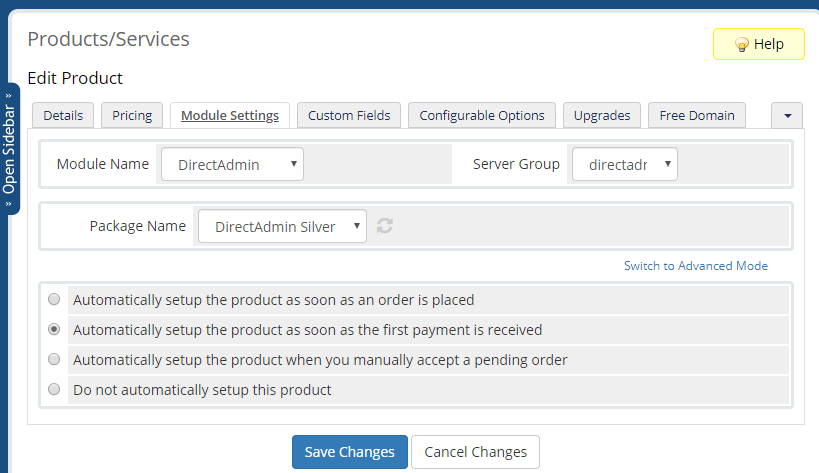
Configure all other details regarding the product on the relevant tabs and when done click Save Changes

