Follow the below steps to create an MX record for your domain within the Client Services Area DNS Manager.
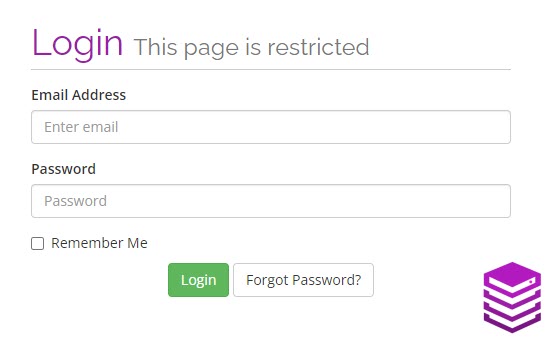
- Log into your Clint Services Area.

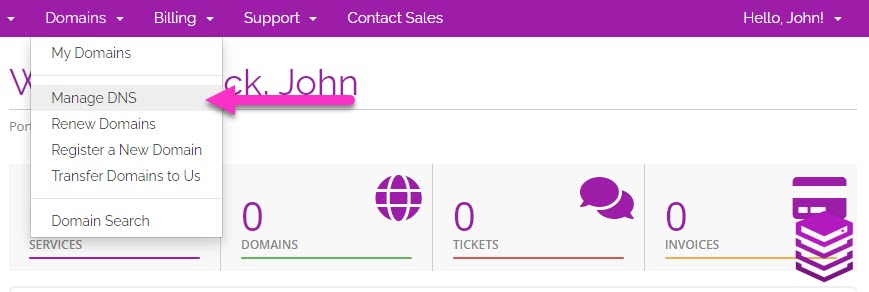
- Navigate to the Domains drop-down menu.
- Click on to Manage DNS.

- On the DNS Manager page, click on the Edit Zone icon to the right of the domain name.

- Click on to the blue Add Record button.

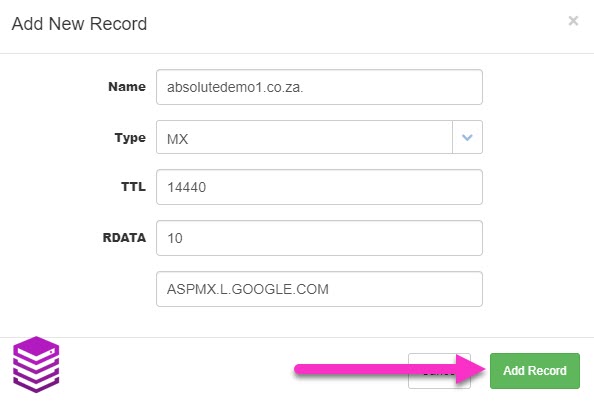
- In the Name section, enter your domain name followed by a period. NB: End the domain name with a period to ensure the record is not prefixed with the domain name.
- Set the type to MX.
- Within the Rdata section set the preference for the MX record. 10 is a default preference that can be used.
- In the Exchange, enter the record host data. Eg. ASPMX.L.GOOGLE.COM.
- Click on the green Add Record button.

You have now created an MX record for your domain name.
NOTE: DNS changes may take between 1 and 24 hours to propagate.

