Follow the below steps in order to add your domain name to the Client Services Area DNS manager section and create a DNS zone for your domain name.
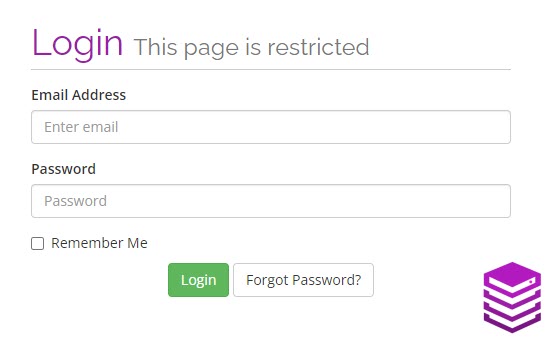
- Log into your Client Services Area.

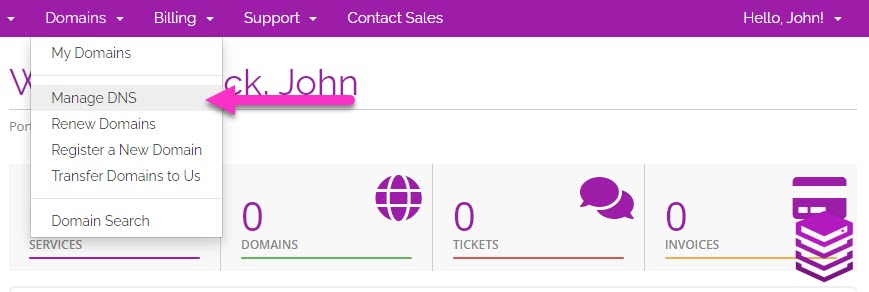
- Navigate to the Domains drop-down menu.
- Click on to Manage DNS.

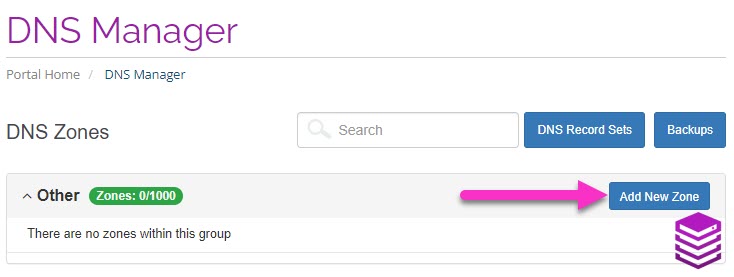
- On the DNS Manager page, click on Add New Zone.

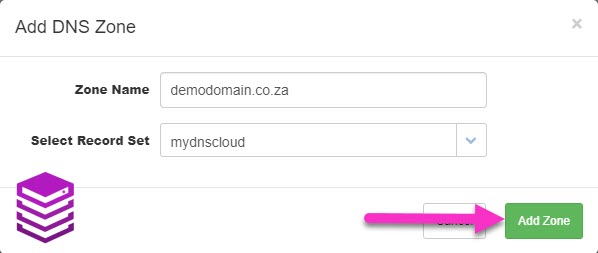
- Enter your domain name in the Zone Name section.
- When selecting the record set, select the mydnscloud set to create the DNS zone on our MyDNSCloud name servers.
- Click on the green Add Zone button.

You have now created a new DNS zone for your domain name and can create and manage the DNS records for your domain as needed.
NOTE: DNS changes may take between 1 and 24 hours to propagate.
For your domain to make use of the DNS zone that you have just created you will need to make use of Absolute Hosting MyDNSCloud name servers which you can see below:
nameserver 1 = ns4.mydnscloud.comnameserver 2 = ns3.mydnscloud.comnameserver 3 = ns2.mydnscloud.comnameserver 4 = ns1.mydnscloud.com
NOTE: If your domain is hosted at an external registrar you will need to update the name servers with the registrar where the domain is hosted.
For domains that you have registered with Absolute Hosting you can change the name servers from within the Client Service Area. Please view the knowledge based article How to change name servers on a domain name for instructions on how to change domain name servers.

