This guide will walk you through the process of creating a new email account on your Business Email Hosting Package.
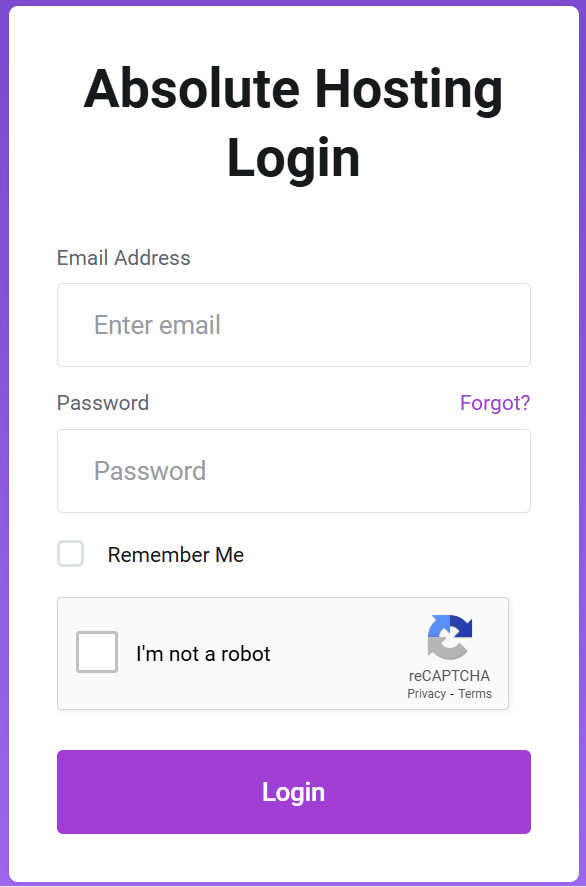
- Log into your Client Services Area.

- Click on the Services icon.

- Click on the Active button for your Business Email Hosting package.

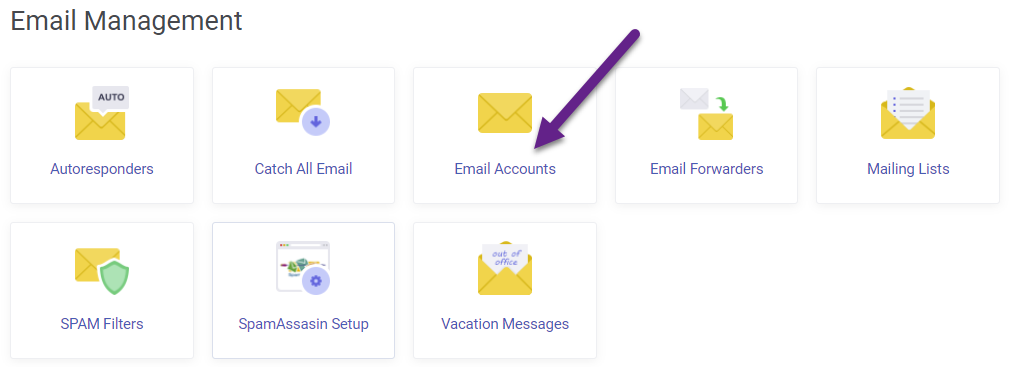
- In the Manage Your Services section, click on Email accounts.

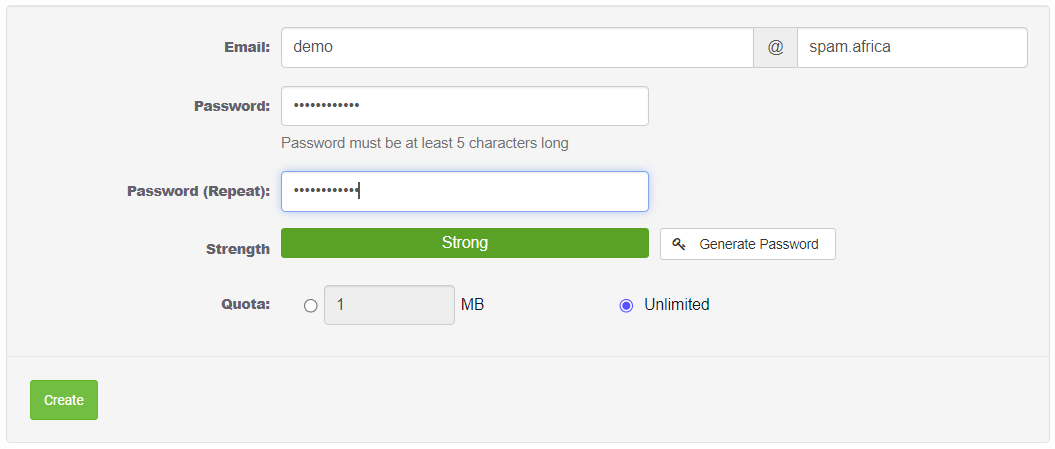
- Enter the name of the email account you would like to create.
- Enter a password for the email account. (Ensure that a strong password is used for security of the account.)
- If needed, set a custom quota for the account. (The allocated disk space for the email account.)
- Click on the Create button.

You can now log into the new email account via webmail or setup your mail application to connect to the email account on the server that hosts your Business Email Hosting Package.

