How to add a record with the DNS Zone Editor in Solid Control Panel

Follow the below steps to add a new DNS zone record to your domain in Solid Control Panel.

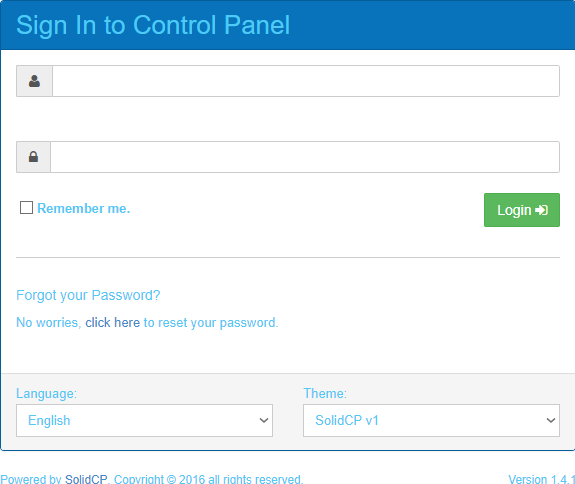
  1. Log into your Solid Control Panel
    Solid control panel login
  2. Expand Hosting Space Menu on the left.
  3. Click on Domains.
  4. Click on the domain name you wish to edit.
    Select a domain
  5. Click on the Edit DNS Zone Records button to the right.
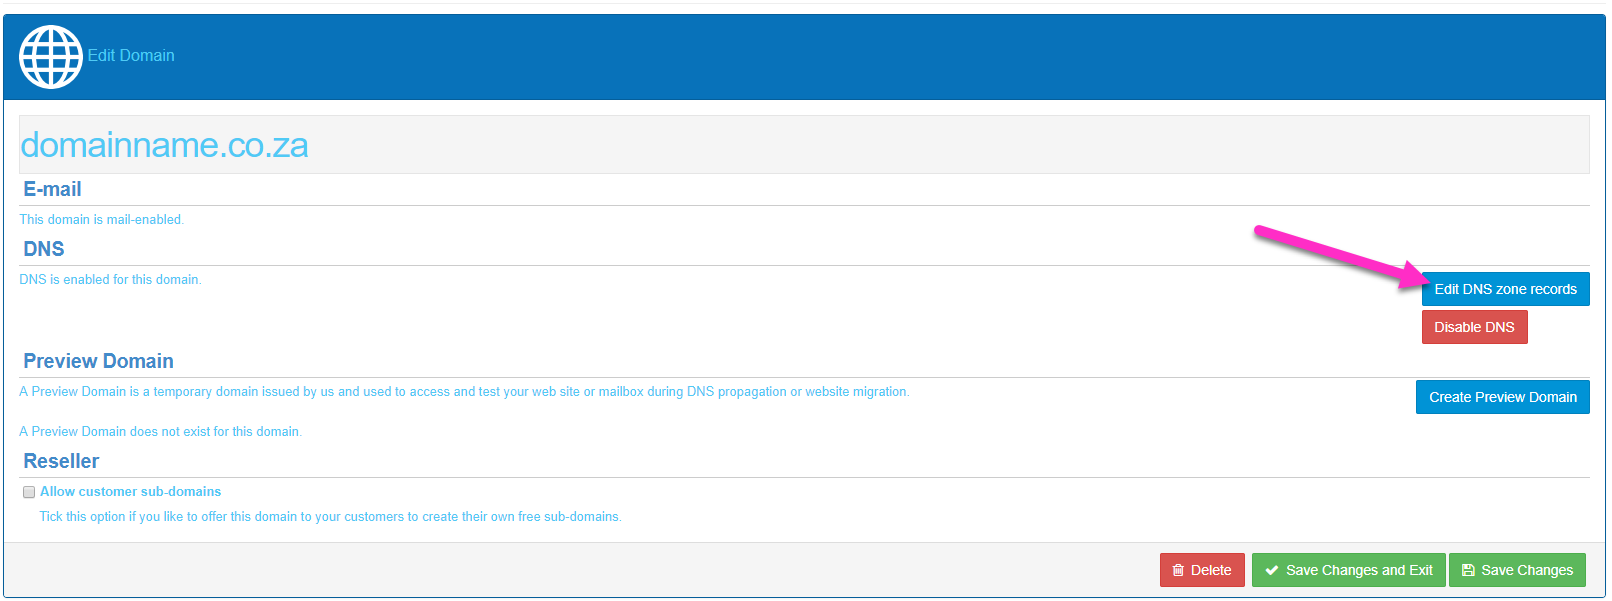
    Edit DNS zone
  6. Click the Add Record button to add a new DNS record.
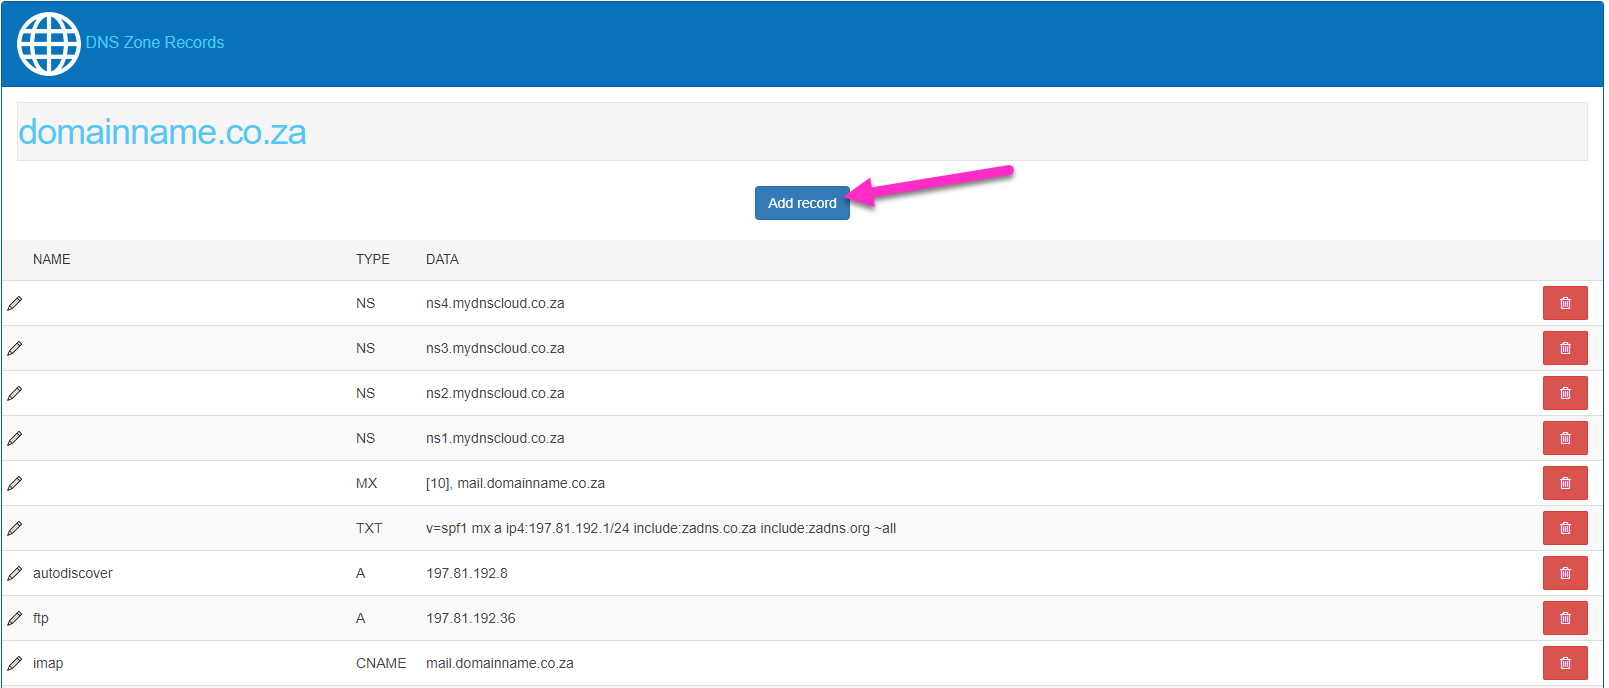
    Add DNS record
  7. Select the record type using the drop down menu.
  8. Enter the Record Name.
  9. Enter the Record Data.
  10. Click on the green Save button to the right.
    Save new record
The new DNS record has now been created as needed.
NOTE : DNS propagation can take up to 24 hours to complete.
  • DNS, addiing a record, records, dns zone, dns records
  • 0 Users Found This Useful
Was this answer helpful?

Related Articles

How to create a sub-domain in Solid CP

To create a sub-domain in Solid control panel follow the below steps.  Log into your Solid...

How to edit a record with the DNS Zone Editor in Solid Control panel

To edit a DNS record within the Solid Control Panel follow the below steps. Log in to your Solid...

How to enable email Autoresponder in Solid Control Panel

Follow the below steps to enable an email autoresponder for a mail address.  Log into your Solid...

How to restore the wwwroot folder after being deleted

When trying to delete a website or website files from your Solid Control Panel you may...

How to create an FTP account in Solid Control Panel

This guide will assist you in creating an FTP account within your Solid control panel.Follow the...