Follow the below steps to create Vacation Messages from within your client services area.
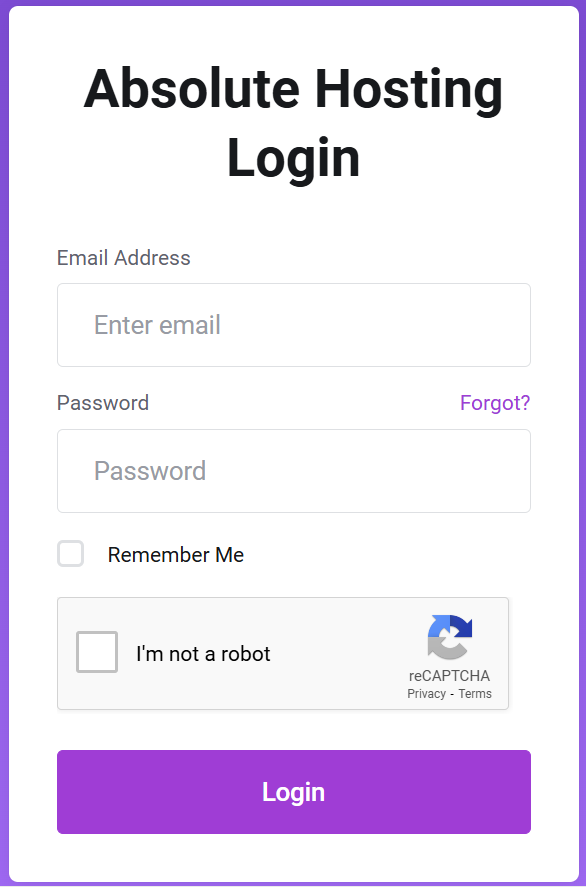
- Log into your Client Services Area.

- Click on Services.

- Click on the green Active button to the right of your service.

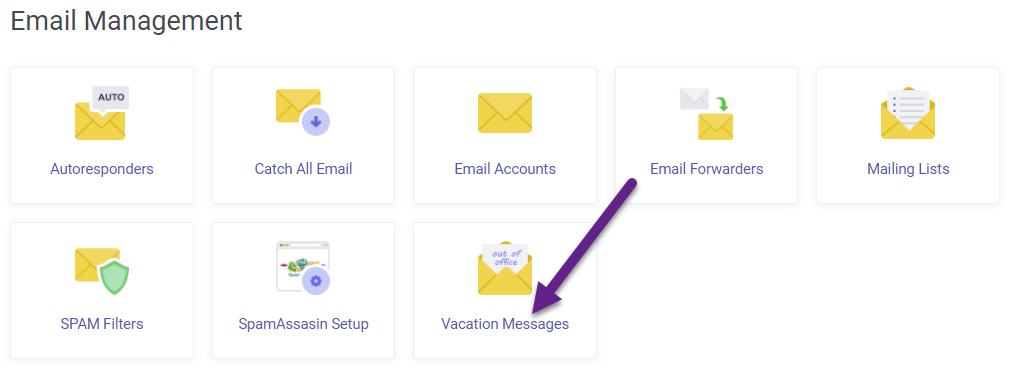
- Scroll down to Email Management and click on Vacation Messages.

- Click on the blue Create Message button.

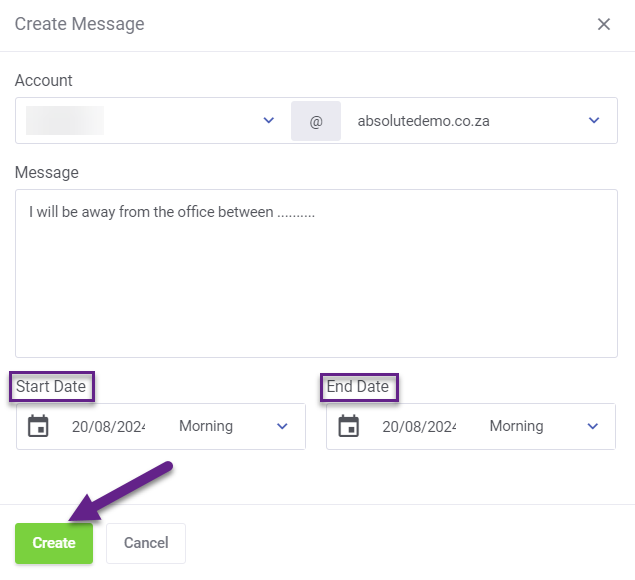
- Select the email address the Vacation message is for from the drop-down menu.
- Enter your desired message.
- Select your start and end dates and times.
- Click on the green Create button to save the message.

You have now created a Vacation Message for your account.

