Note : This guide applies only to clients who host on Windows SSD Web Hosting and Windows SSD Reseller and not those who host on .Net Core Hosting.
Clients who host their sites on .Net Core Hosting package do not need to make these changes as the servers that host .Net Core Packages are specifically built and optimized for .net core and include functions such as dedicated application pool management.
If you are hosting on a Windows SSD Web Hosting then please purchase a .Net Core Hosting for best performance and support
This guide will walk you through how to deploy a .NET CORE website.
First, ensure that you have created your domain name and website within your Solid Control Panel.
Please use the below guide to add a domain to your Solid Control Panel.
- How to add a domain name to the Solid Control Panel.
Next, you may need to create an FTP account. To do this follow the below steps.
- Log into your Solid Control Panel.
- Navigate to Hosting Space Menu.
- Navigate to FTP Accounts.
- Click on Create FTP Account.
- Enter a User Name for the account.
- Enter a Password and Confirm Password.
- Click on the green Update button.

Once you have created the domain name and website as well as an FTP account you are ready to publish your website content.
To publish your Website to the hosting server Please follow the below Steps.
- Open Filezilla. (Filezilla Download)
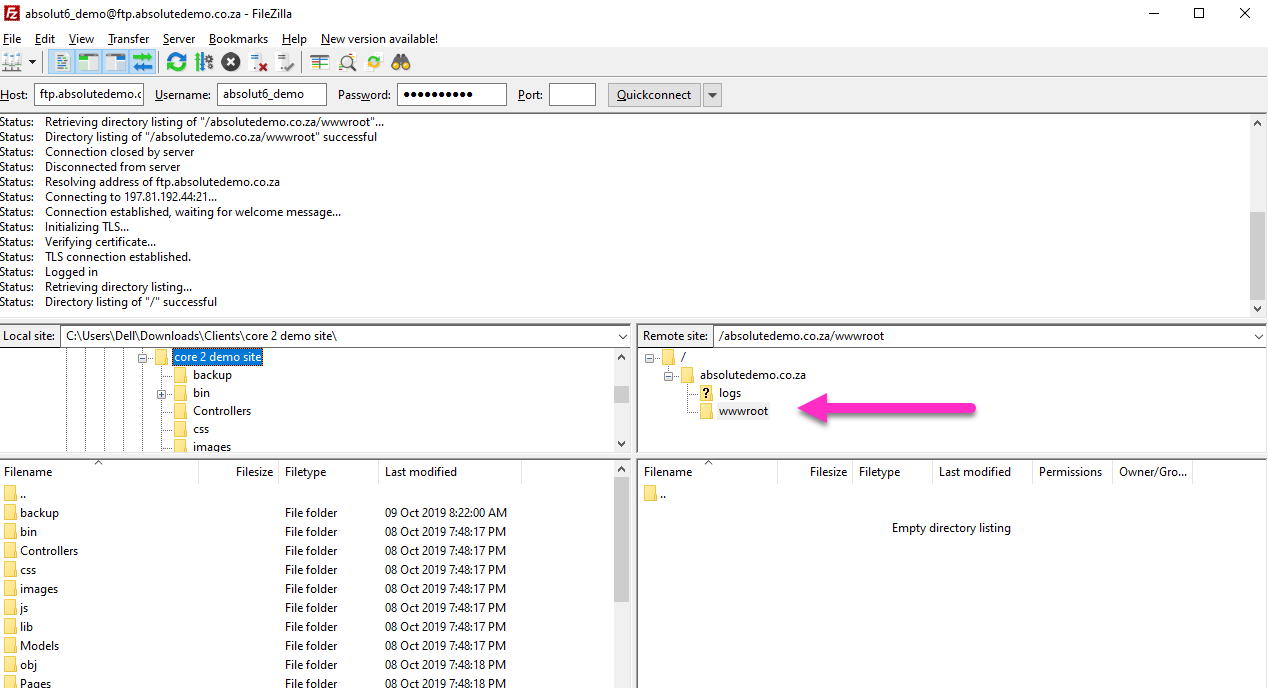
- Connect to your hosting server. The host name should be ftp.mydomain.co.za (your domain name) along with the user name and password that you entered when creating the FTP account.
- Ensure that your are uploading your website files to the wwwroot folder on the remote site as in the below example.
- Once you have uploaded your website content into the wwwroot folder you can close Filezilla.

Once your domain name and website domain are created and you have uploaded your website content, follow the below steps to place your website into the ASP.NET CORE application pool.
- Log into your Solid Control Panel.
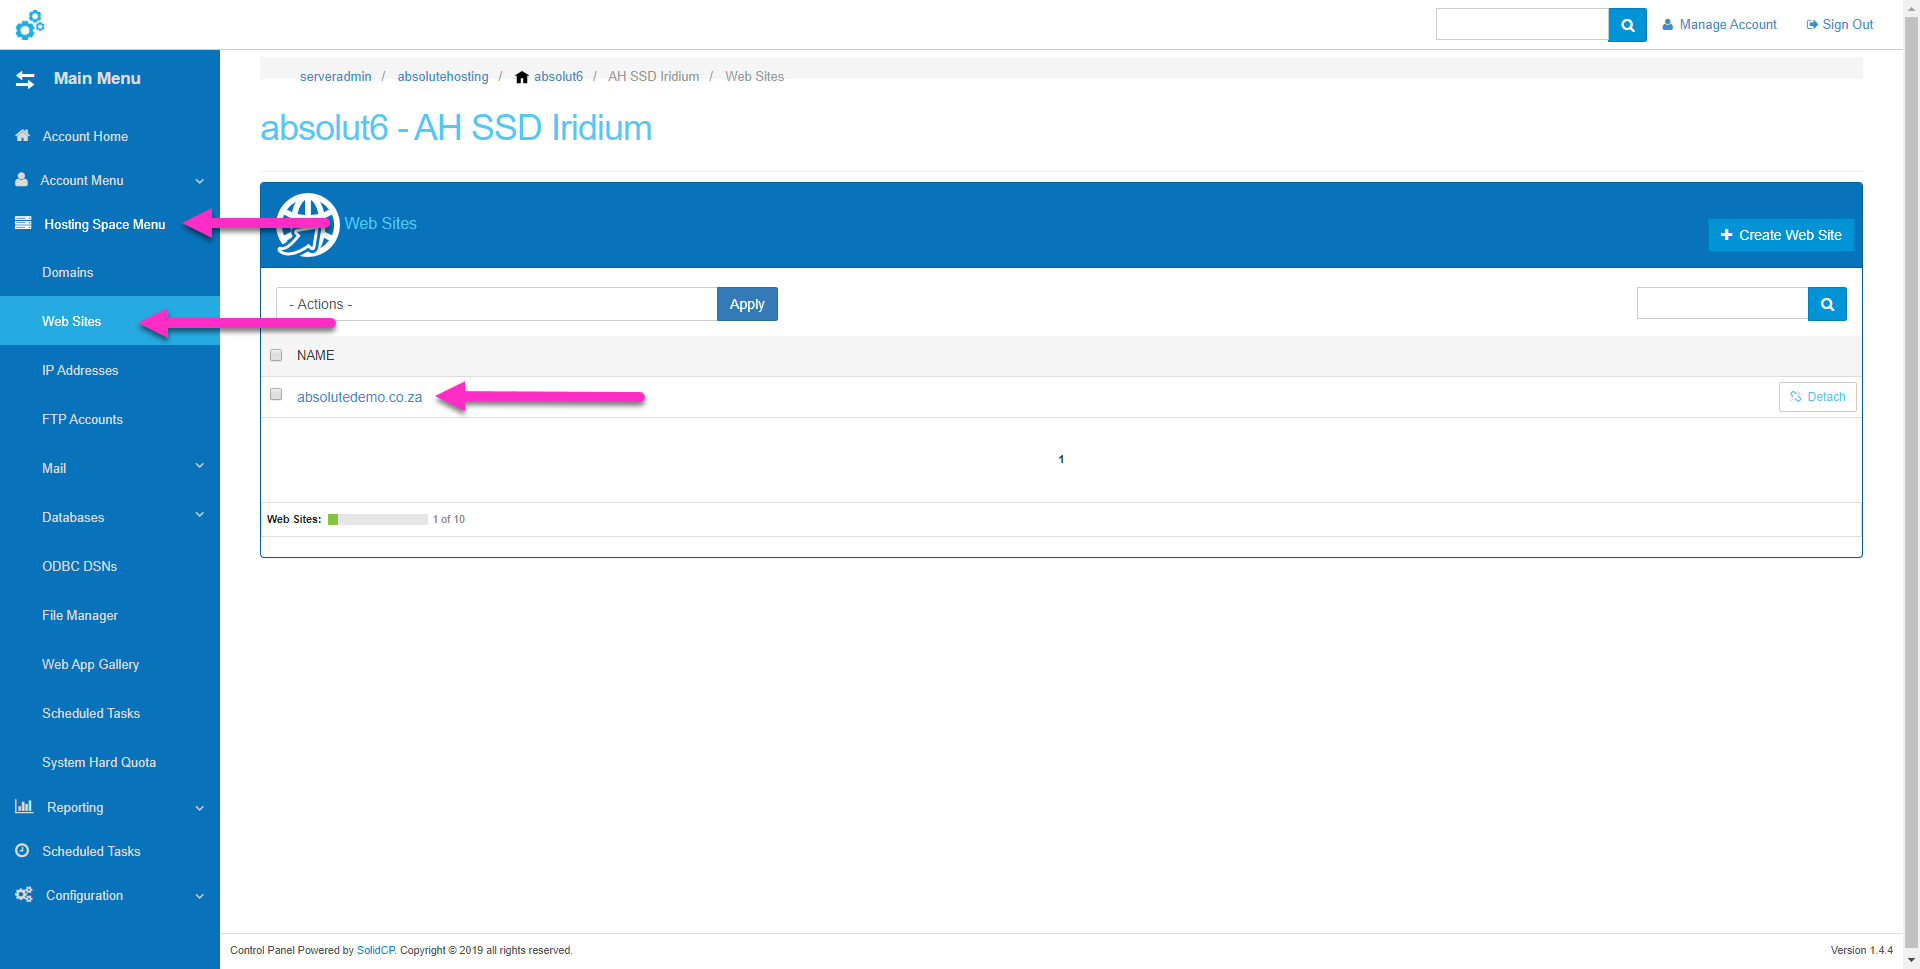
- Navigate to Hosting Space Menu.
- Naviage to Websites.
- Click on your website.

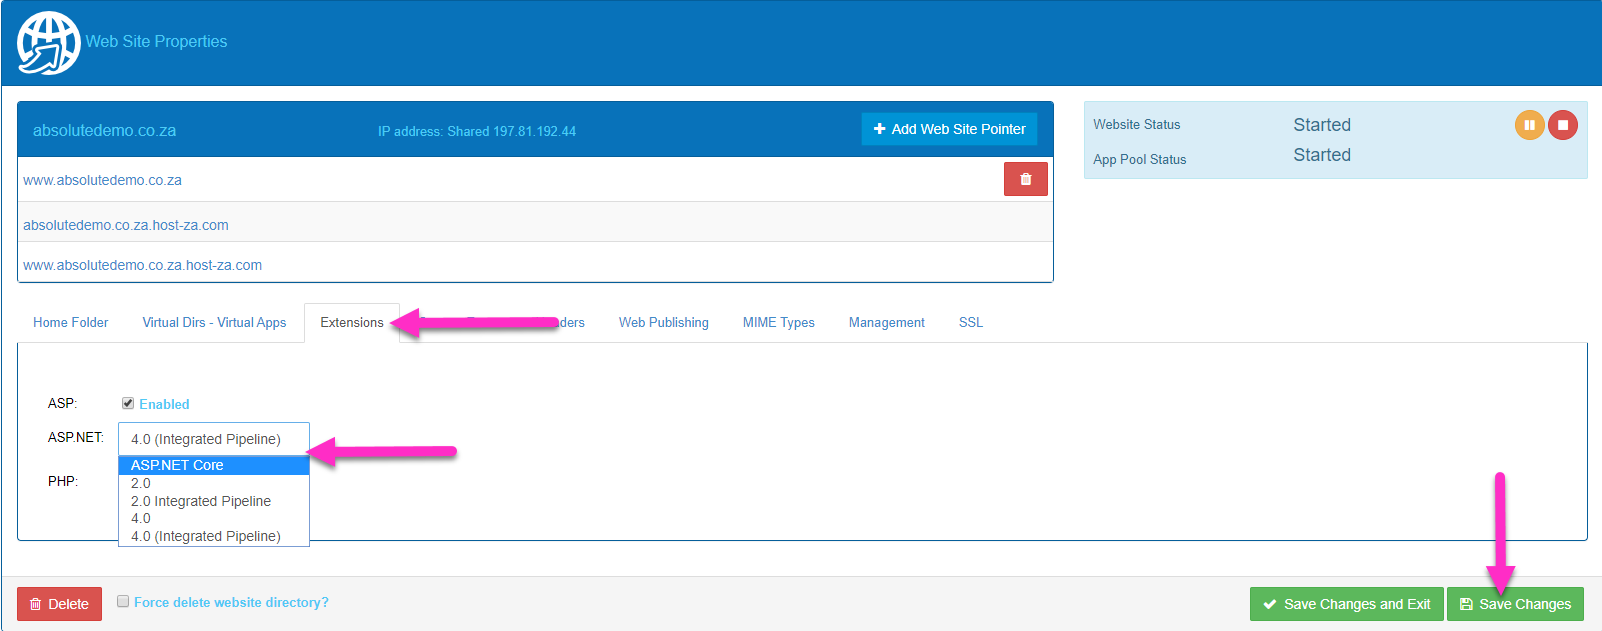
- Click on the Extensions tab.
- In the ASP.NET dropdown menu select the ASP.NET Core option.
- Click on the green Save Changes button.

Your website has now been uploaded to the server and is running in the ASP.NET Core application pool.
You can now test the site by browsing to it.
Web.Config Requirements
When testing/browsing the website you may see a 500 - Internal server error. To correct this follow the below steps. 
- Within your Solid Control Panel navigate to Hosting Space Menu.
- Navigate to File Manager.
- Click on your Website.
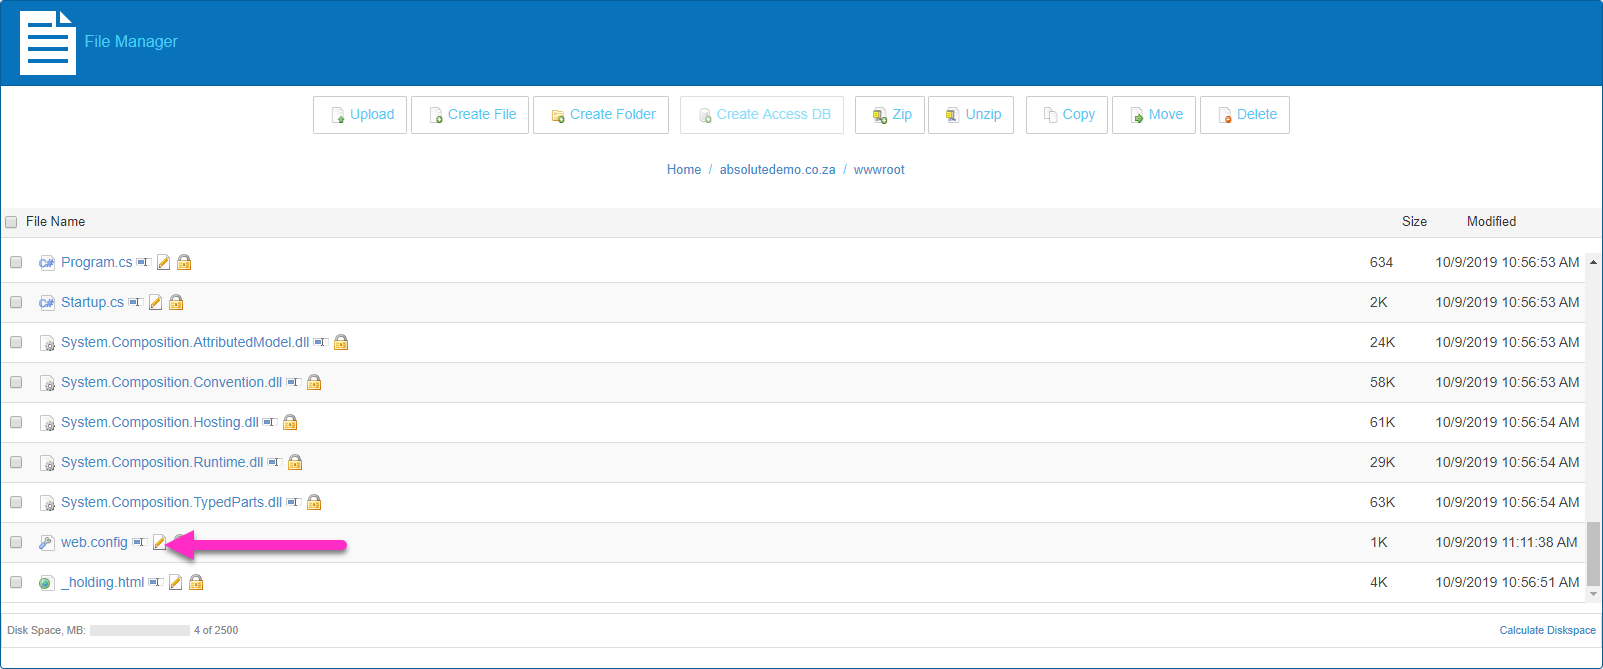
- Navigate to the wwwroot folder.
- Locate the web.config file.
- Click on the pencil in page icon to edit the file.

- In the Edit File screen
- Find the line modules="AspNetCoreModuleV2" and change to modules="AspNetCoreModule"
- Find hostingModel="InProcess" and change to hostingModel="OutOfProcess"
- Click on the green Save button.
Reload the website within your browser and the website should now load without the 500 - Internal server error.

