This guide will walk you through the steps to enable DKIM for your Smarter Business Email Hosting account.
DKIM improves security and deliverability of your email to external recipients.
Log in to the client service area and navigate to My Products & Services page.
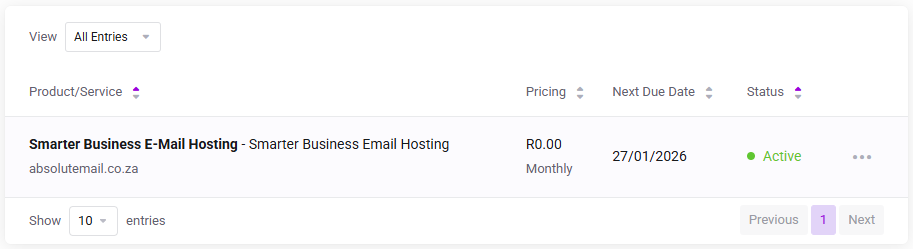
Click on the Smarter Business Email Hosting Service that you need to administer.
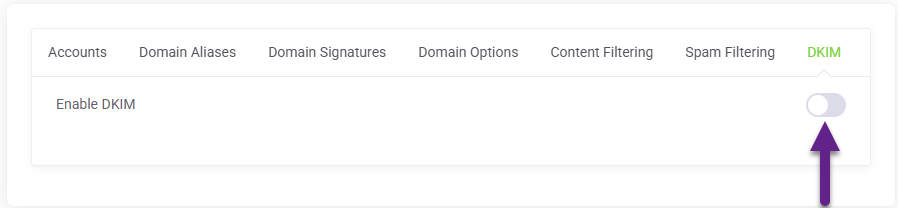
On the Service Management page, click the DKIM tab and click Enable DKIM and click Save.
Your unique Selector and Public Key are now shown, confirming that the server has enabled DKIM for your mail domain.
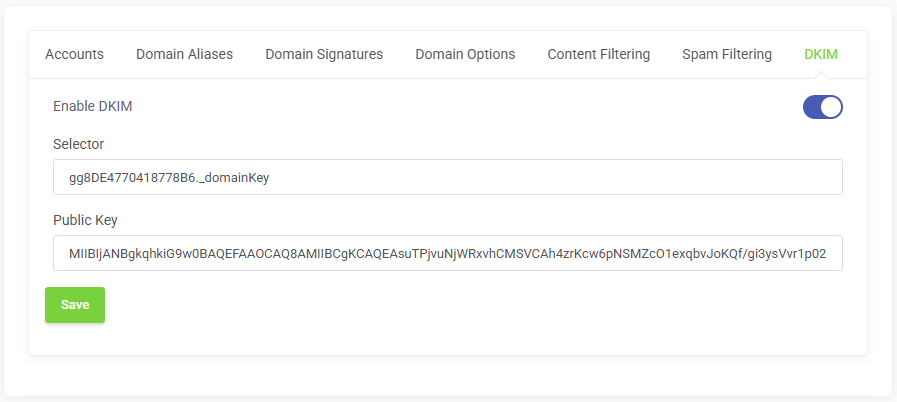
Note : If your domain uses external DNS servers then you must create the Selector and Public Key on the external DNS Servers.
