This guide will walk you through the steps to create and manage Email Domain Signatures for your Smarter Business Email Hosting Service.
Domain level email signatures are provide your company with a unified look across all email accounts.
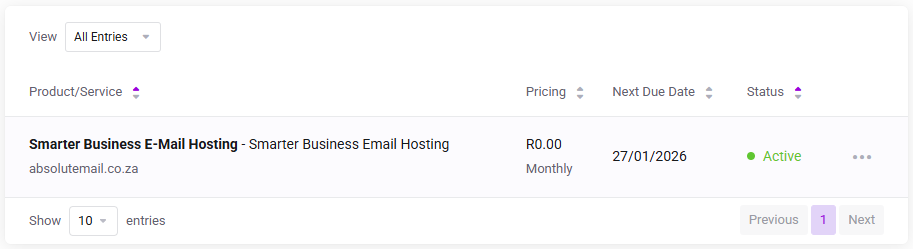
Log in to the client service area and navigate to My Products & Services page.
Click on the Smarter Business Email Hosting Service that you need to administer.
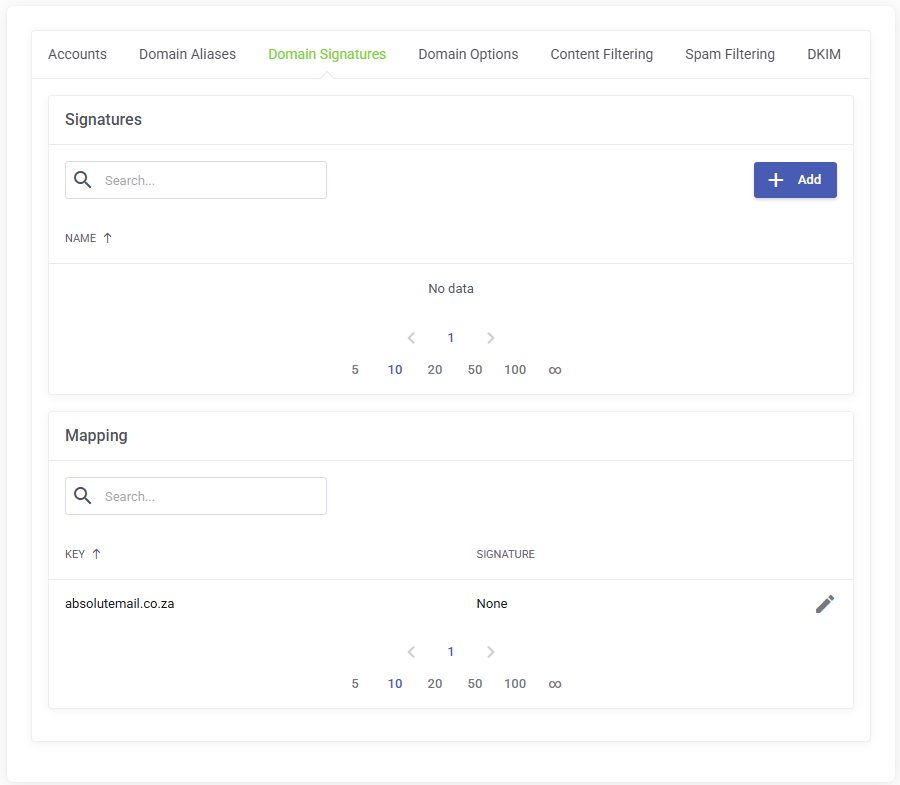
On the Service Management page, click the Domain Signatures tab and click Add to create a new Signature.
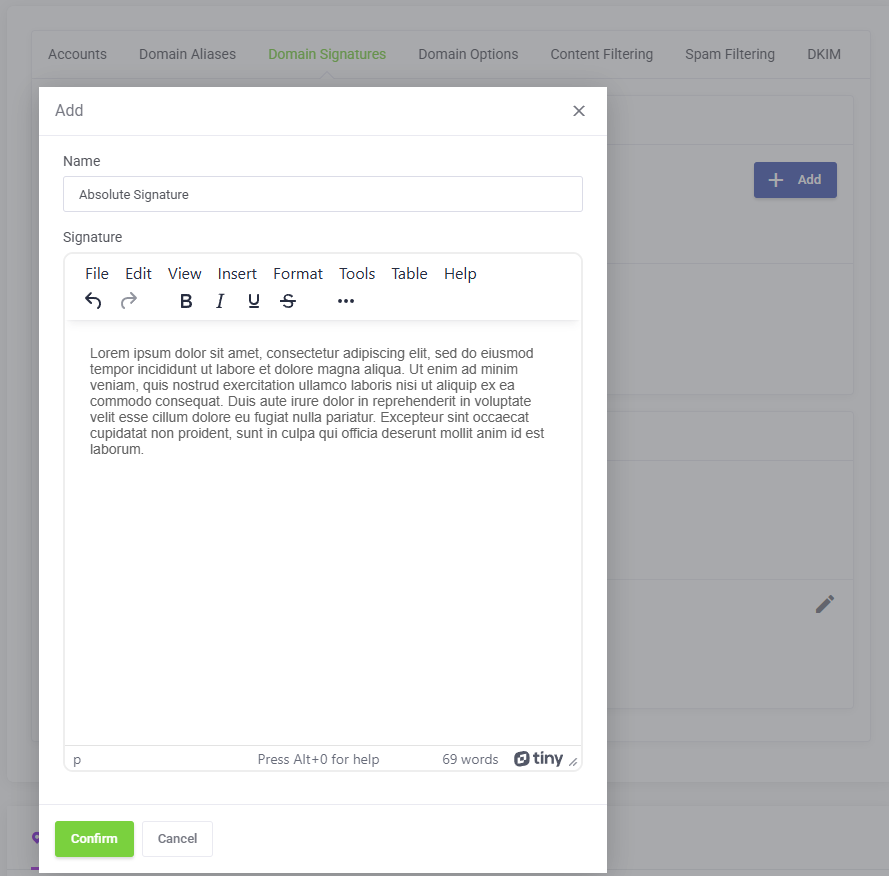
On the Add Domain Signature modal, enter a name for your new domain signature and use the editor to add your signature and then click Confirm to save.
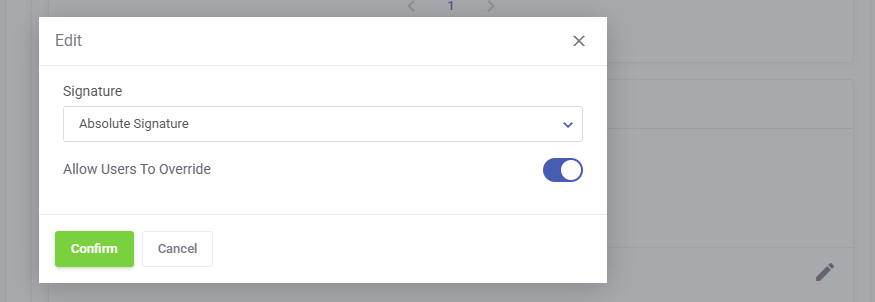
Back on the Domain Signatures tab, scroll down to Mapping and click the edit icon for your domain name to map your new Signature to your Smarter Business Email Hosting Domain.
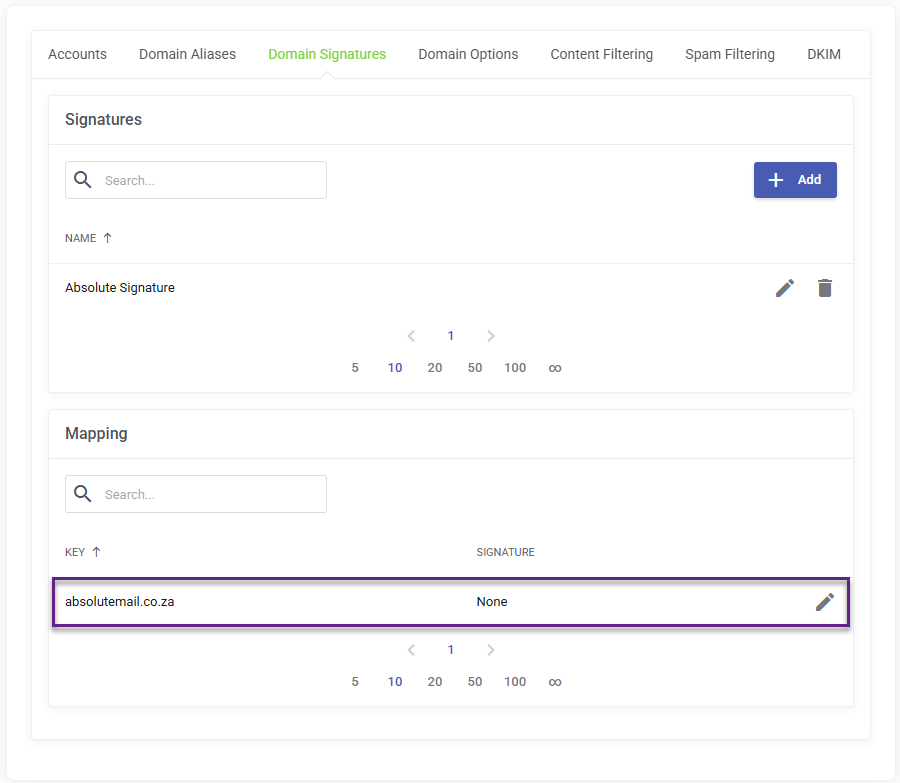
On the pop up modal, use the drop down to select the newly created Domain Signature and map it your domain name and click confirm.