This guide will walk you through the steps to order additional email accounts for your Smarter Business Email Hosting account.
During the upgrade and downgrade process, you can accomplish both adding new accounts and deleting existing accounts during the same time.
Removal of existing email accounts will result in a credit being automatically processed, and new email accounts will generate a pro-rata invoice which when paid complete the upgrade process.
Be cautions when removing email accounts, as this will permanently delete the email account and all data from the server.
Log in to the client service area and navigate to My Products & Services page.
Click on the Smarter Business Email Hosting Service that you need to administer.
On the Service Management page, click the Upgrade/Downgrade Options link.

On the Upgrade/Downgrade page pay attention the instructions below
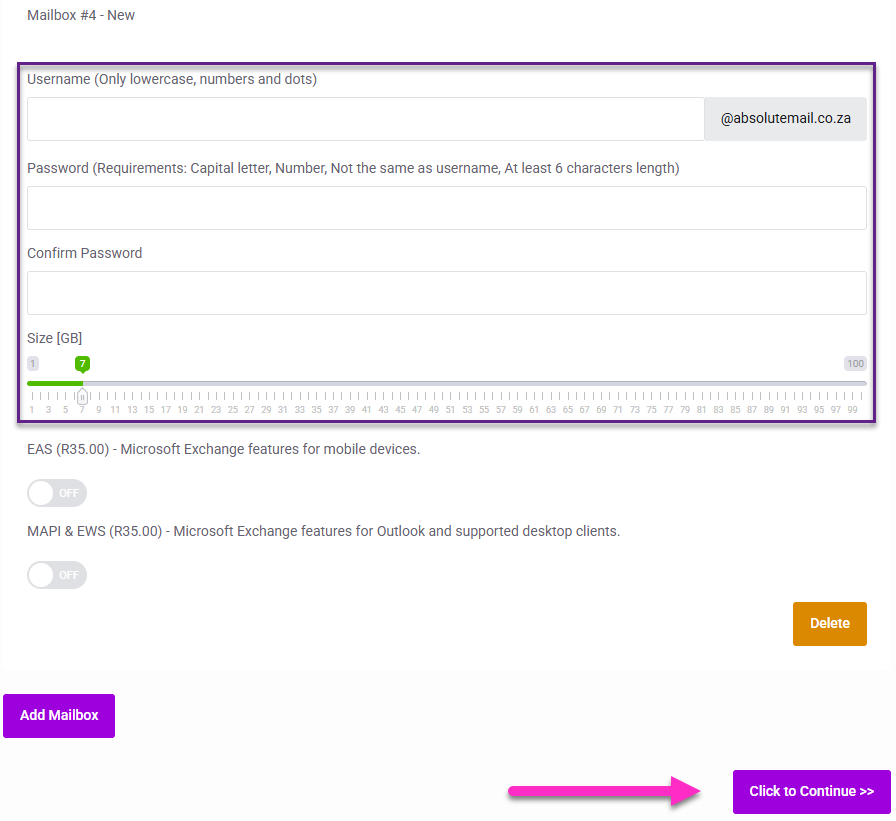
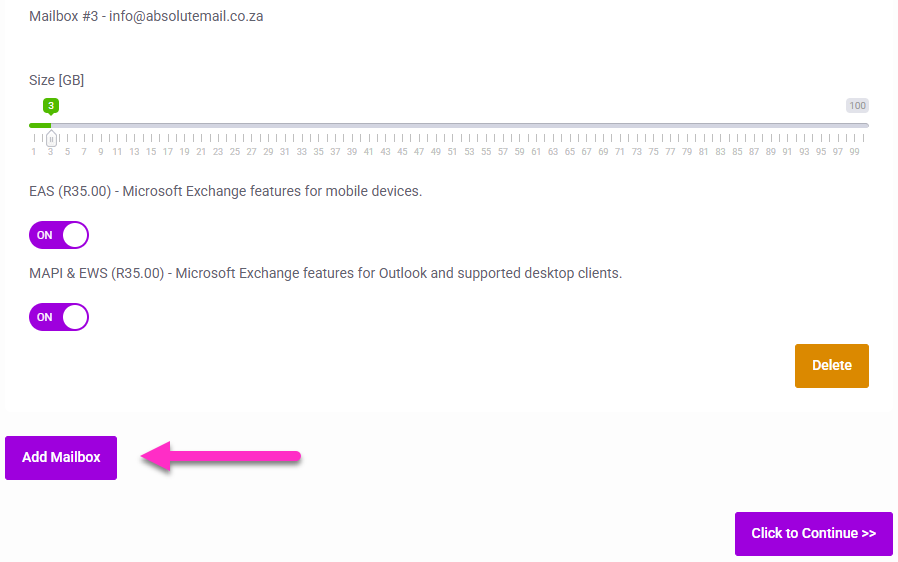
Scroll to the bottom of the page and click the Add Mailbox button
A new form will appear where you will enter the new mailbox name, provide the password for the account and select the amount of storage required for the new account.
Once completed, click the Click to Continue button - Do not click Delete.